After taking a break from design for nearly a year, I've got my creative kooky pants back on (whew, finally; I missed me!) and while researching the current market in EcoChic up cycled fashion I discovered these genius ladies on Etsy. I am so thrilled to be in such brilliant, glorious company. Whilst we are all clearly on the same page, I adore the beautiful variety and crystal clear vision of each designer.
Women making lovely things for other women is a sacred tradition; thank you to all of you whom support our pin pricked fingers.
Please click through and check them out - maybe even buy something special and guilt free (which is one of the fabulous side effects of eco-shopping, no?!) because you deserve it.
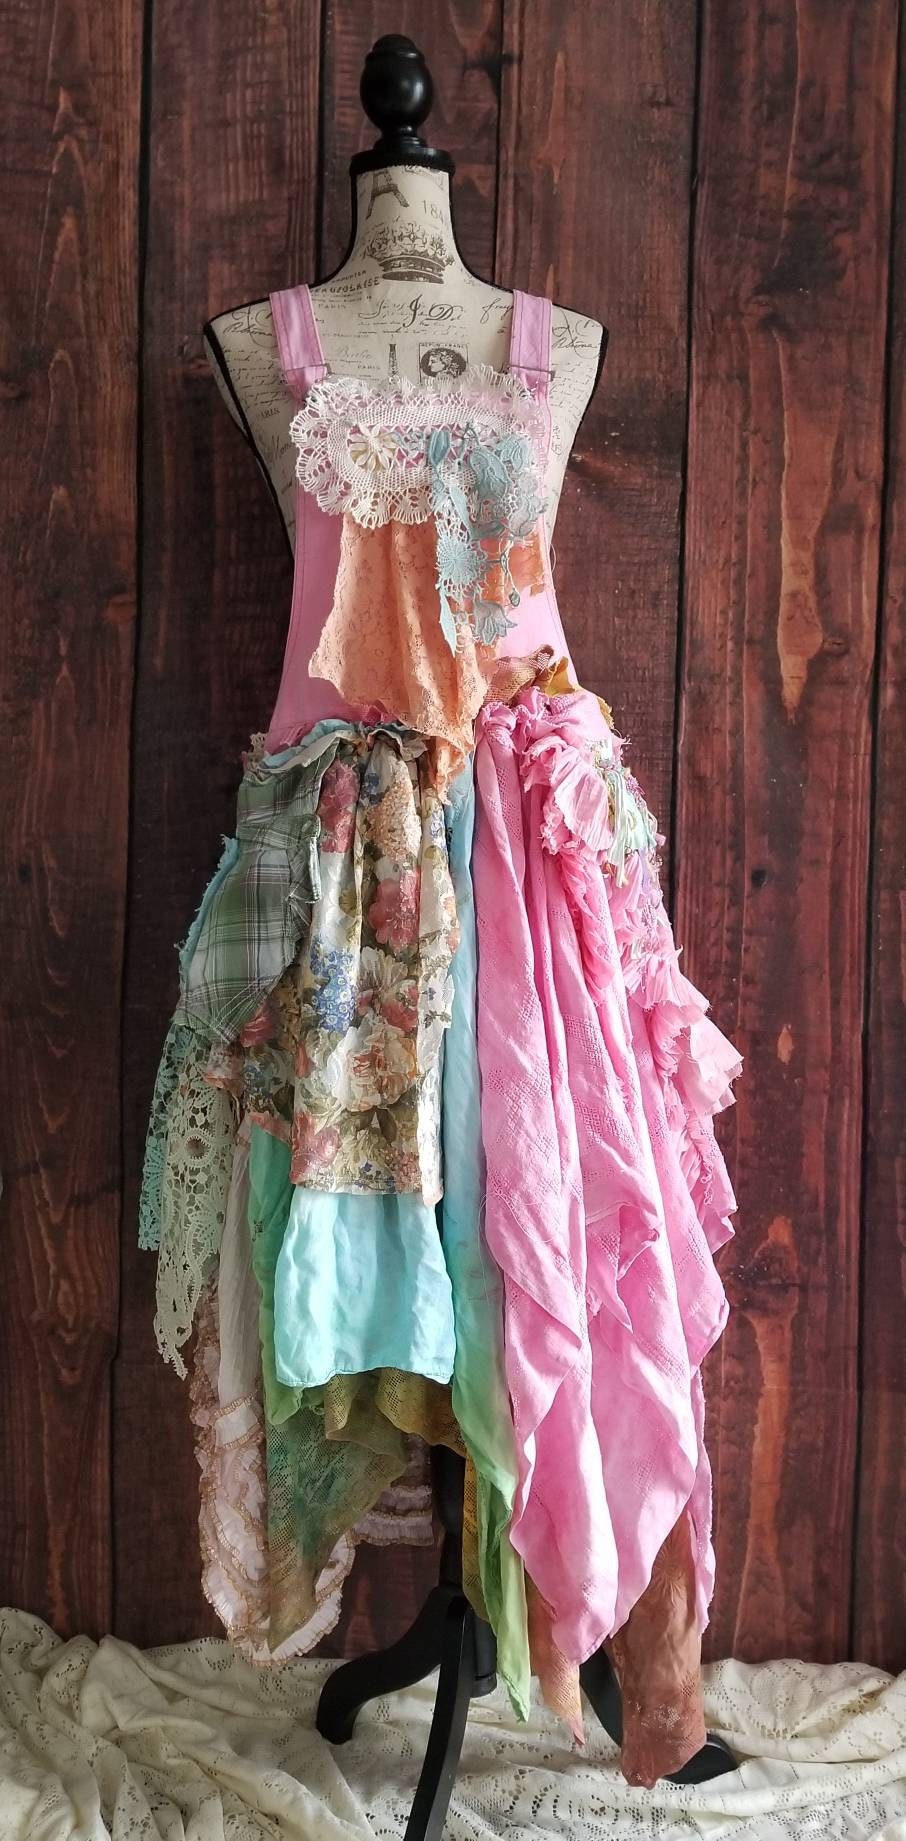
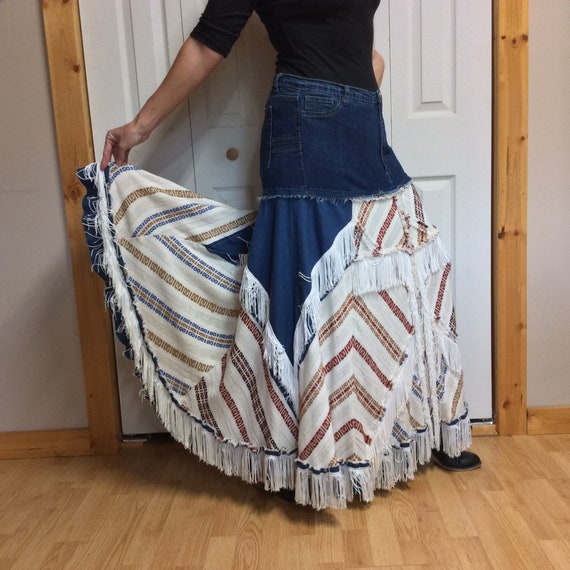
PinkSunshineShabby is a virtual candy shop of deliciousness you can wear. BLOWN AWAY!
Insanely fun, all of her items!

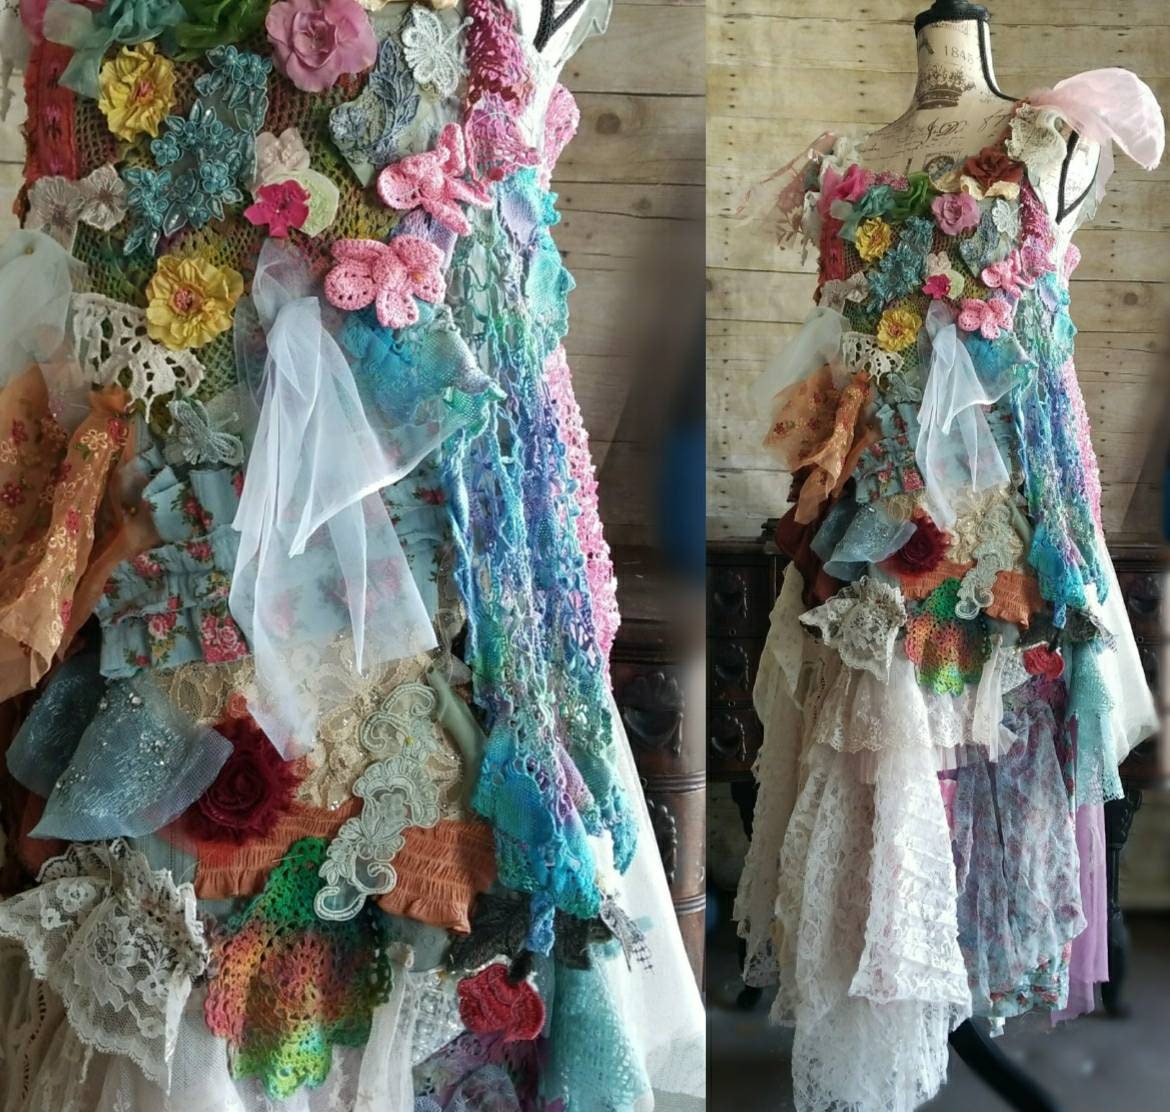
ShowDiva
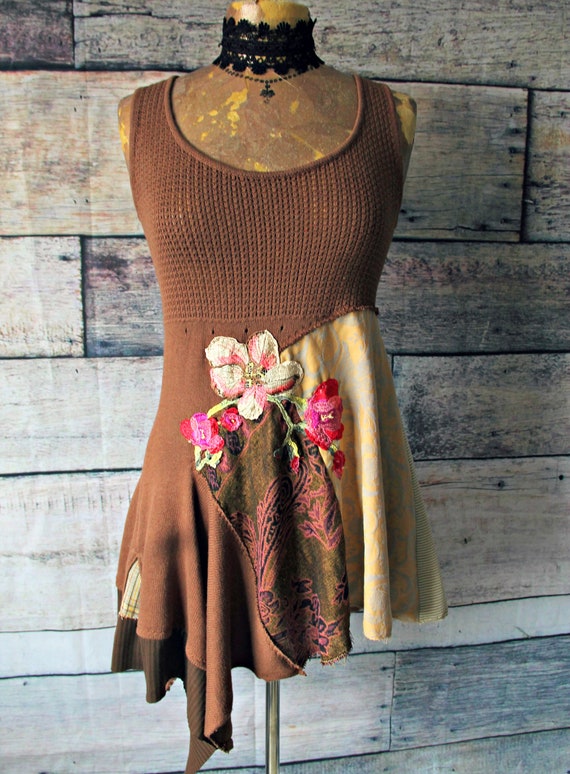
SewSomer
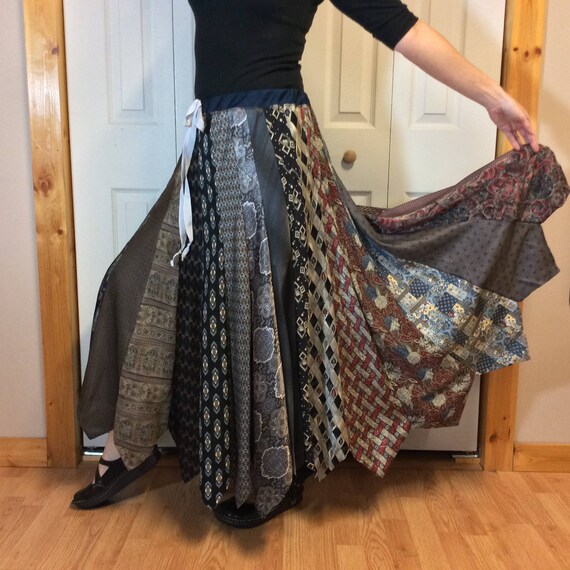
Decades ago my sister was gifted a men's tie skirt that we both swooned over and started collecting ties to make. Neither of us ever accomplished that, but here you go....
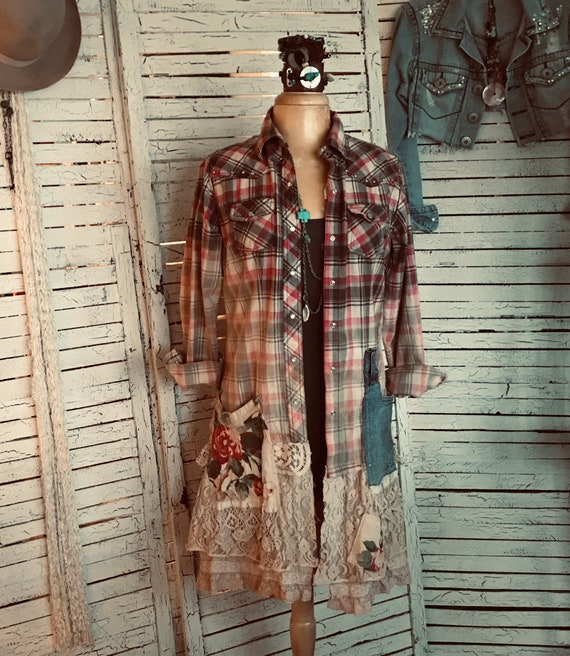
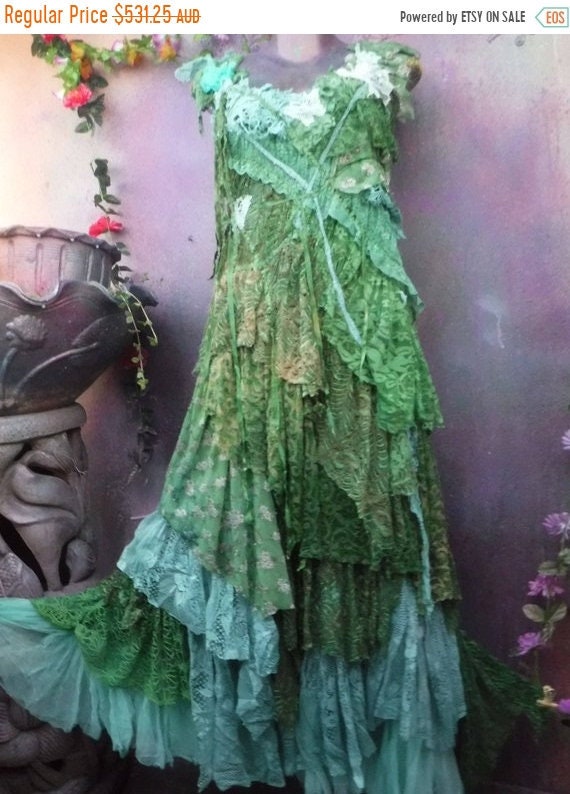
I love the bleached out prairie chic vibe. Stunning.
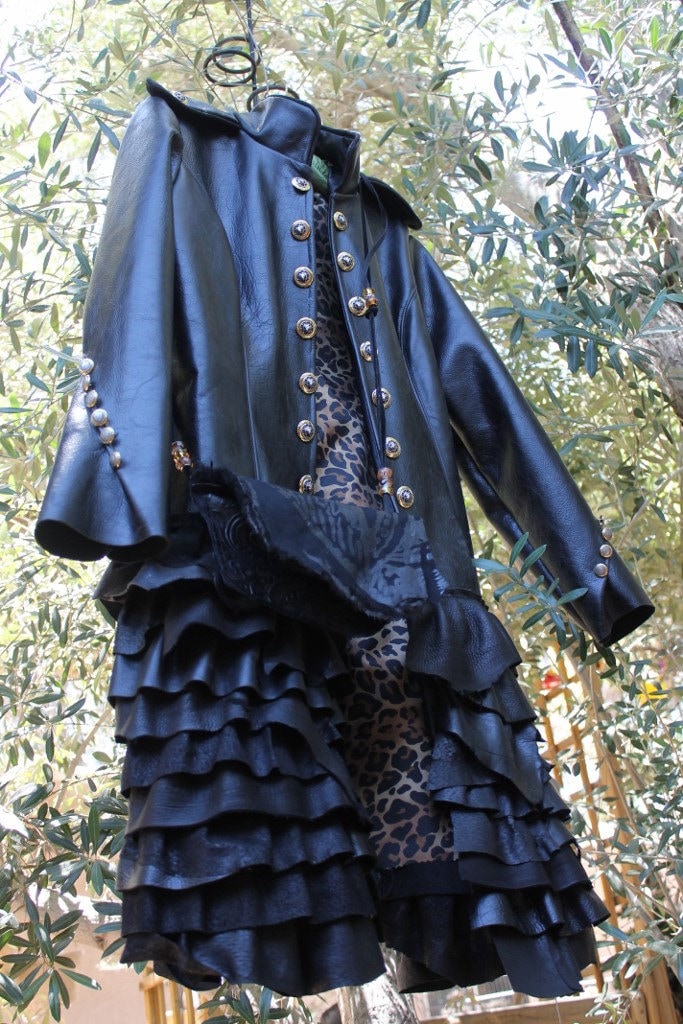
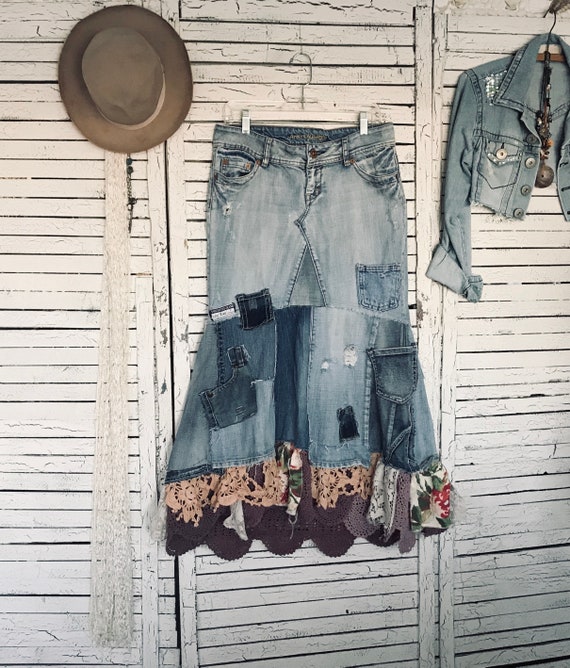
Already sold, but I had to post anyway because it's so wearable and fun:
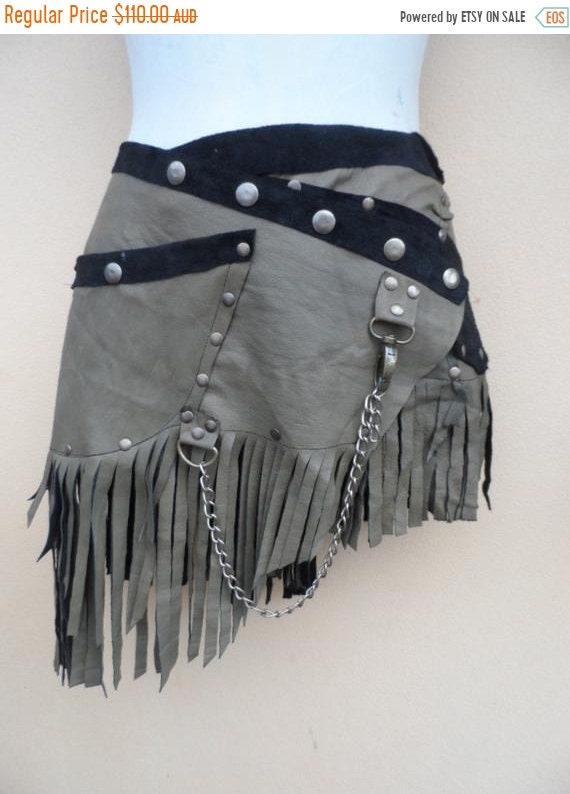
WildSkin
CrazyCool!
And so it is.
There are so many others, just stroll through Etsy for more treasure.
Thank you for stopping by. May you wander far and dazzle always.
There are so many others, just stroll through Etsy for more treasure.
Thank you for stopping by. May you wander far and dazzle always.


