Pages

Showing posts with label up cycled. Show all posts

Sunday, February 3

The UpCycled Fashion Club

After taking a break from design for nearly a year, I've got my creative kooky pants back on (whew, finally; I missed me!) and while researching the current market in EcoChic up cycled fashion I discovered these genius ladies on Etsy.  I am so thrilled to be in such brilliant, glorious company.  Whilst we are all clearly on the same page, I adore the beautiful variety and crystal clear vision of each designer.  
Women making lovely things for other women is a sacred tradition; thank you to all of you whom support our pin pricked fingers. 

Please click through and check them out - maybe even buy something special and guilt free (which is one of the fabulous side effects of eco-shopping, no?!) because you deserve it. 
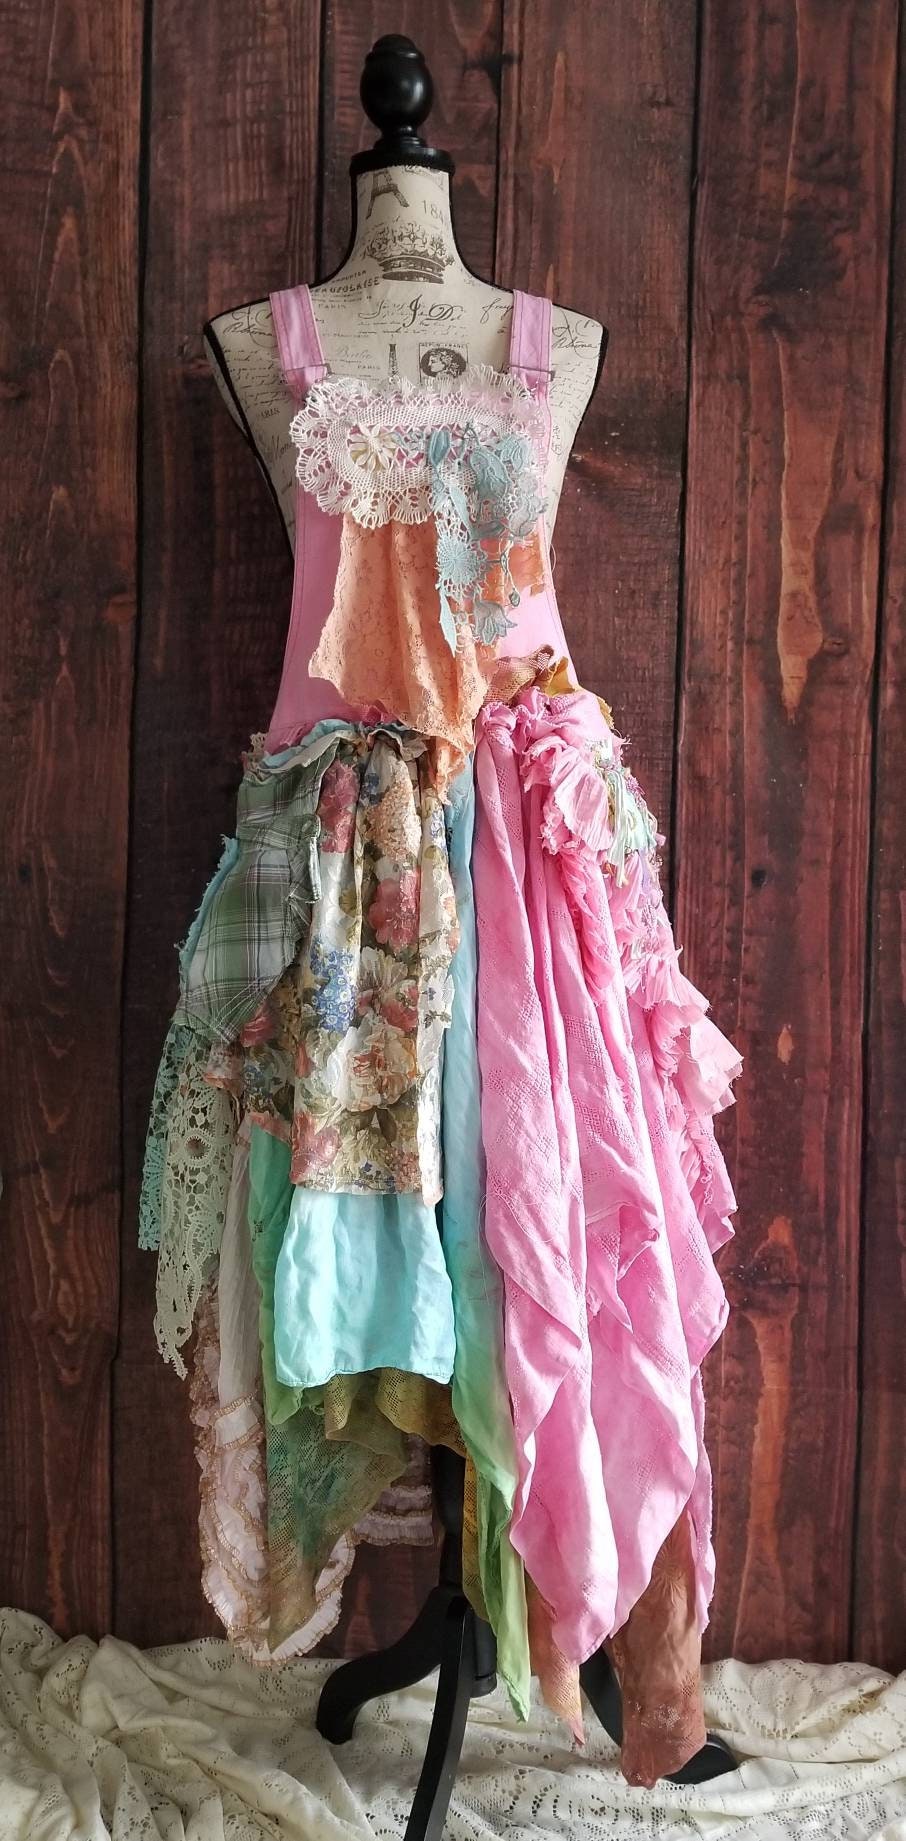


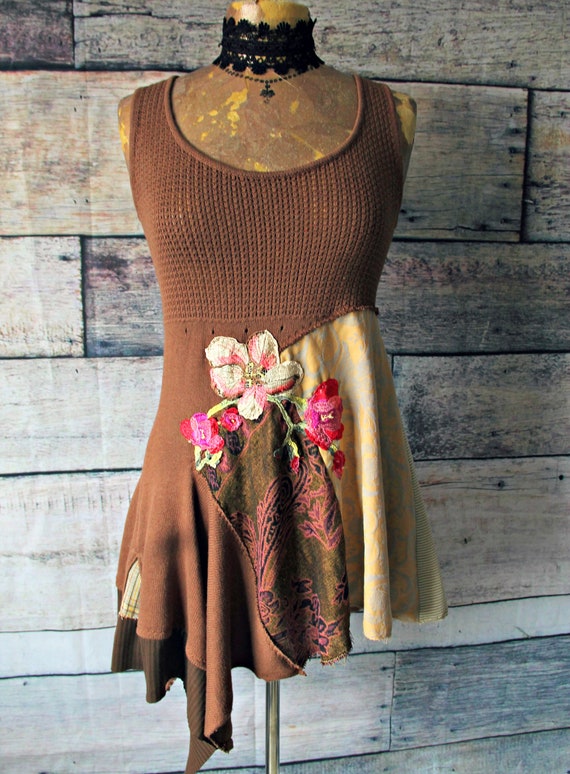
PinkSunshineShabby is a virtual candy shop of deliciousness you can wear.  BLOWN AWAY!
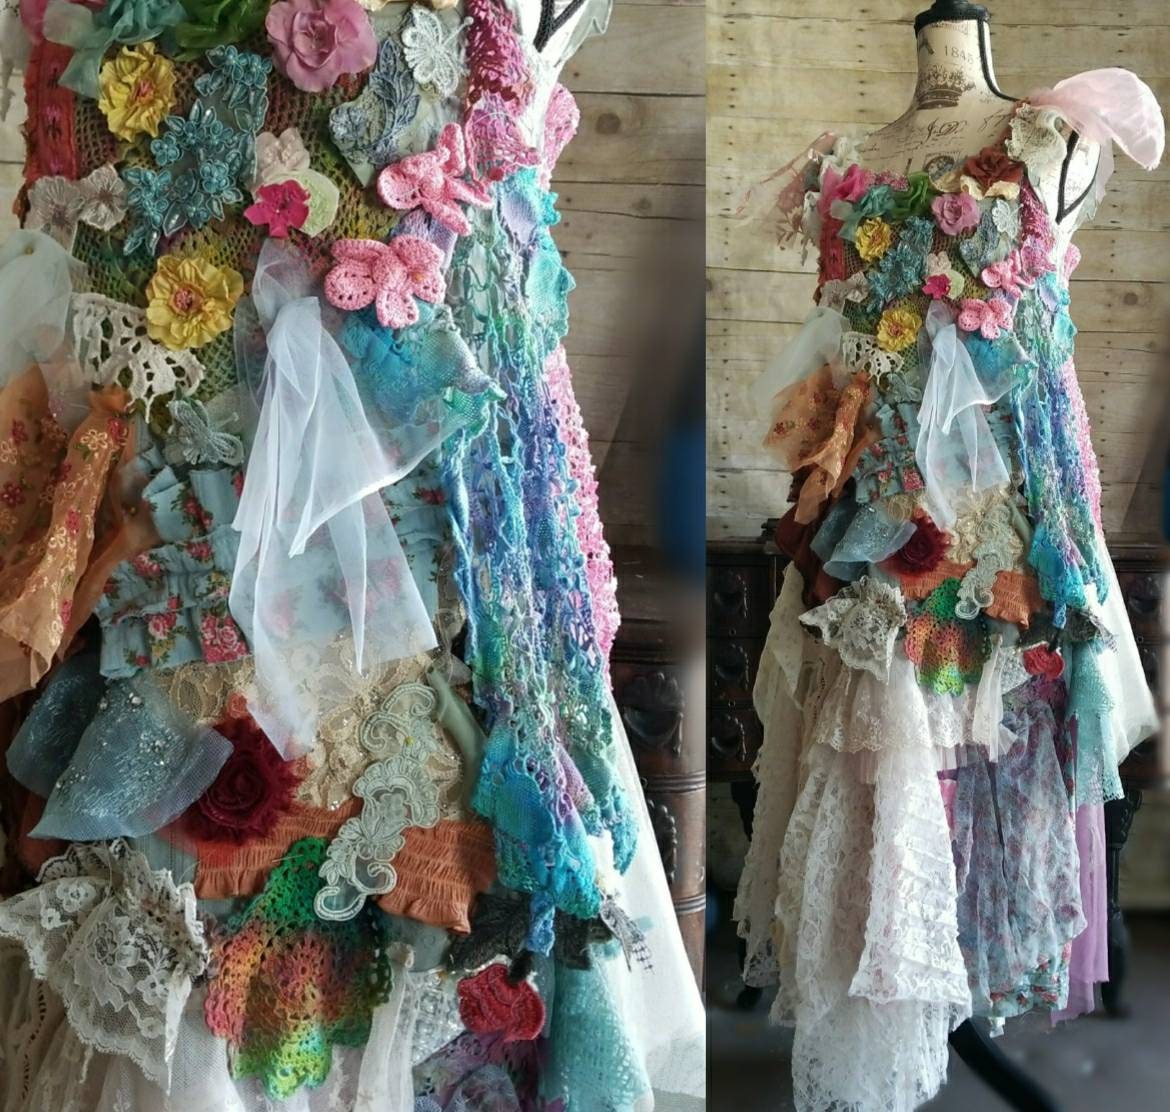

Insanely fun, all of her items!
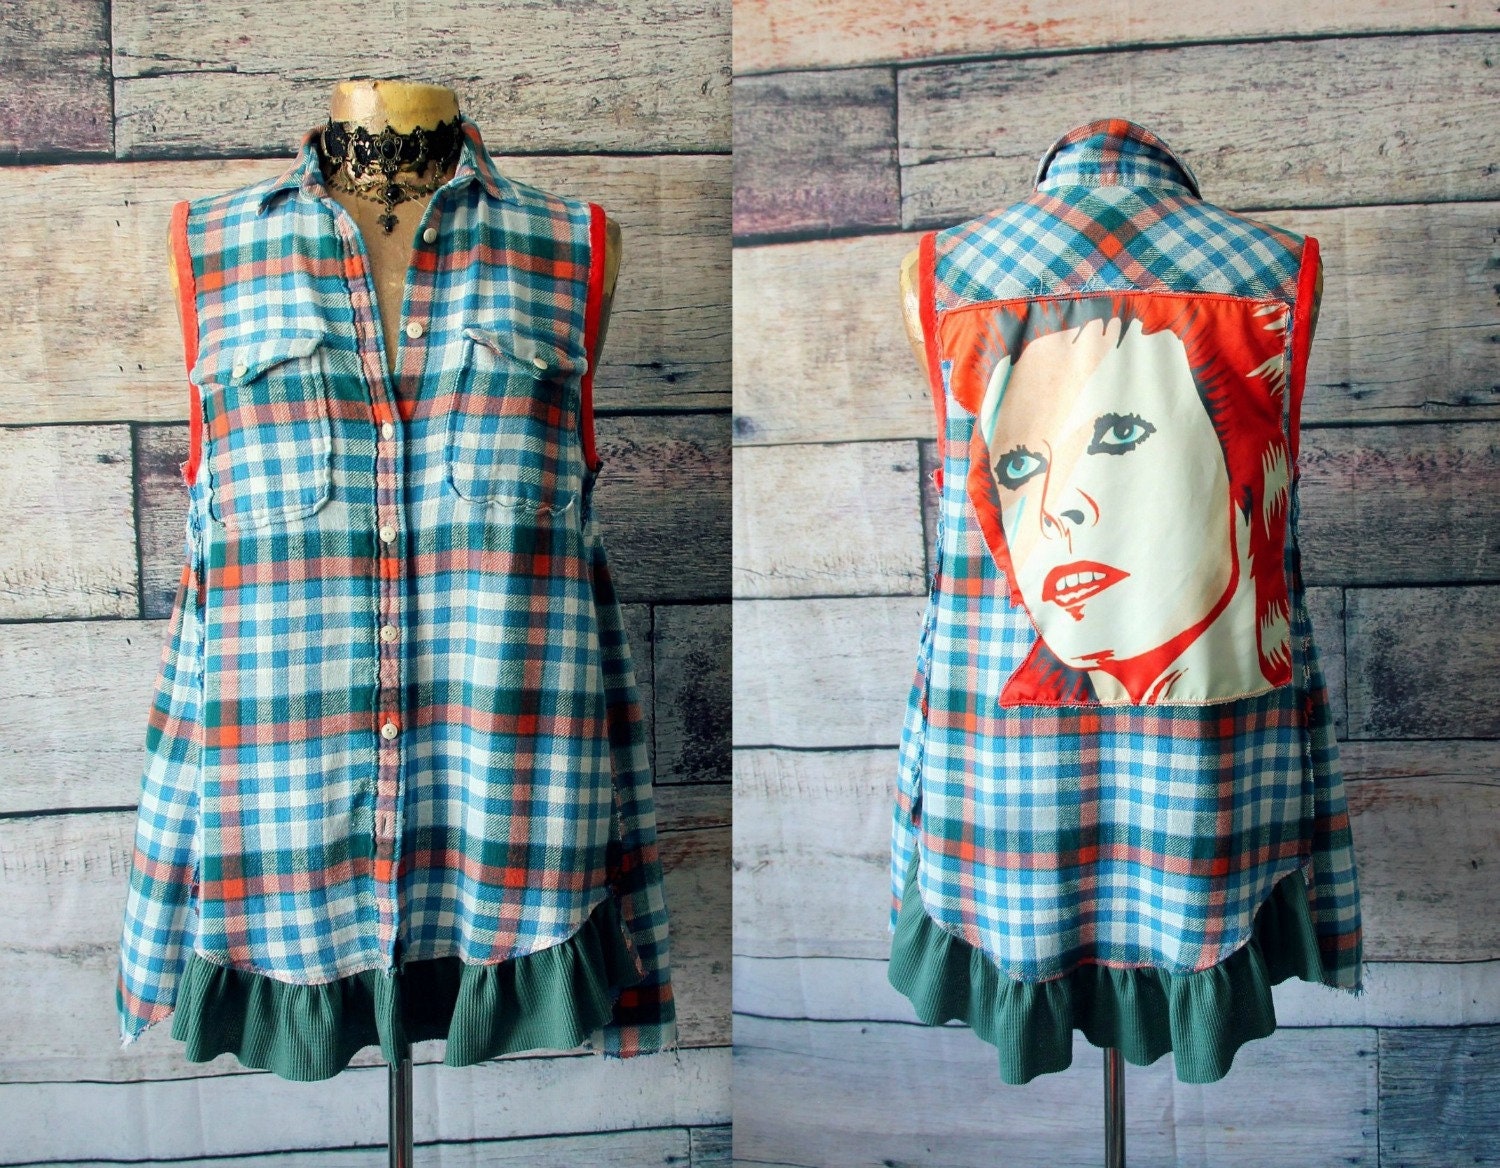

ShowDiva
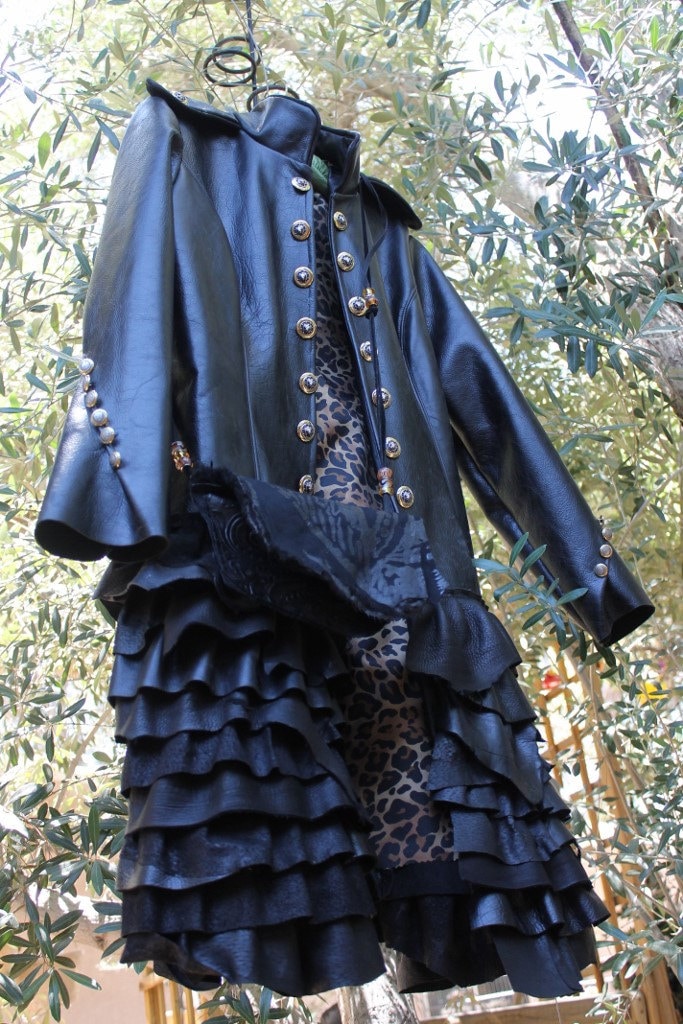


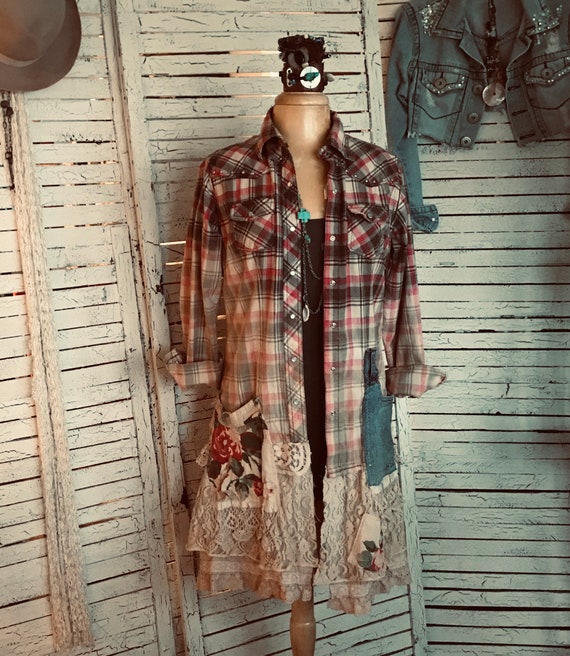
SewSomer
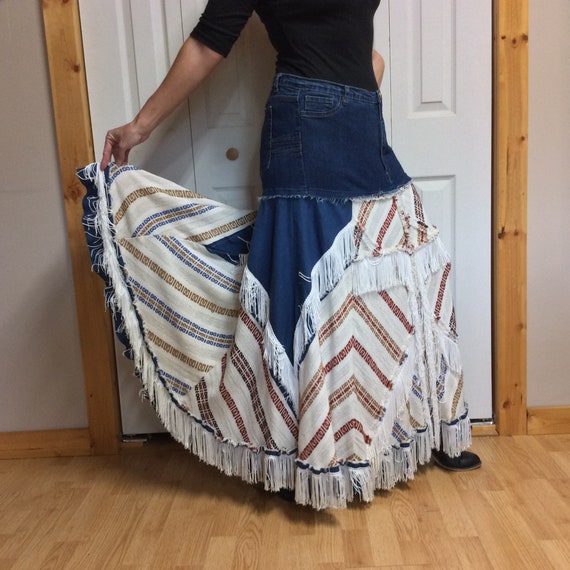


Decades ago my sister was gifted a men's tie skirt that we both swooned over and started collecting ties to make.  Neither of us ever accomplished that, but here you go....
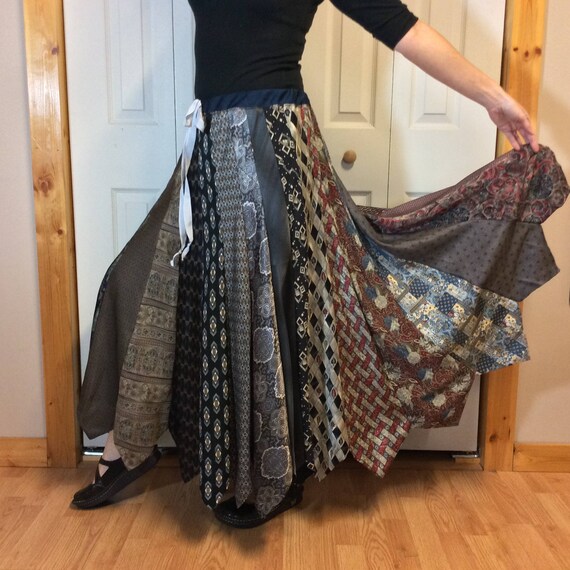
image 0


I love the bleached out prairie chic vibe.  Stunning.
Already sold, but I had to post anyway because it's so wearable and fun:
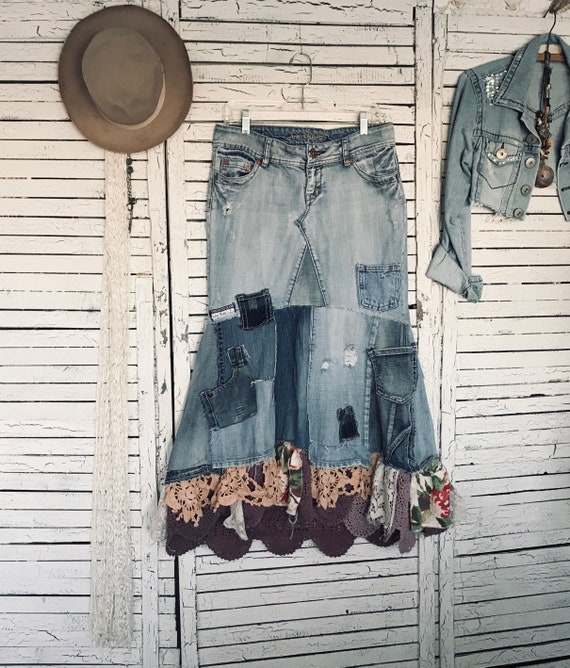
image 0

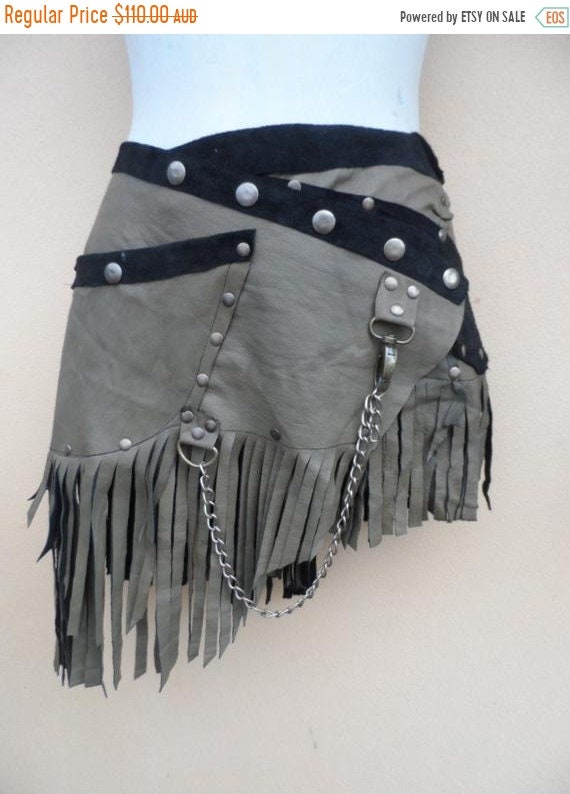
WildSkin

CrazyCool!
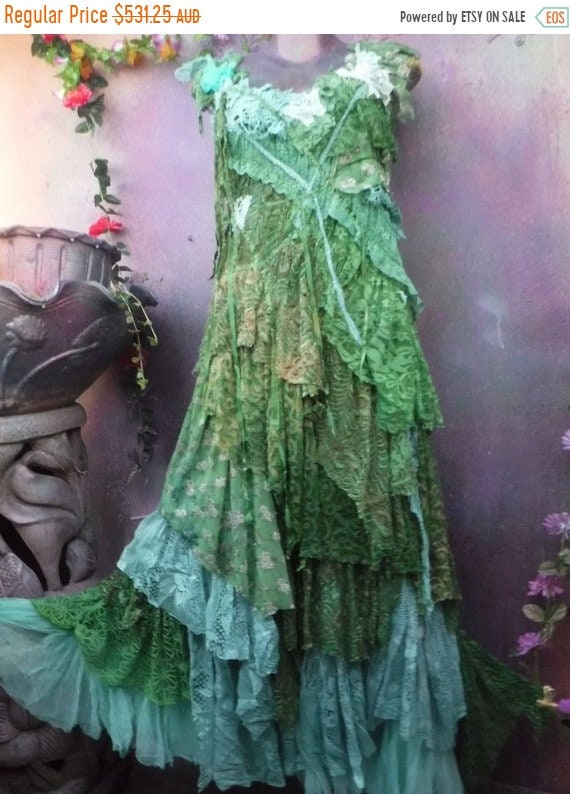
image 0


image 0


And so it is.  
There are so many others, just stroll through Etsy for more treasure.
Thank you for stopping by.  May you wander far and dazzle always.

Saturday, January 13

DIY Up Cycled Gift Bows


If you feel guilty like me about recycling calendars and magazines when they're out of date, there's a cure - convert them into dramatic bows to use for years to come! 
I'm sure there are multiple ways to make them, but this is what I know, so get some scissors, a stapler, a cereal box and a hot glue gun and let's go...

1.  Cut a small circle out of a cereal box about 2-3" diameter - no need for perfection, just a rough one will do.  CAVEAT: I am all about quick & dirty, but if you thrive on precision, knock yourself out with the compass and ruler:-)
2.  Choose a magazine or calendar page and cut strips about 1/2" wide the shortest length of your page.  Again, just free hand, no need for super straight cutting and measuring.  If a magazine, the finished strips will measure about 1/2" x 8".  Cut these in half so they are about 4" long.  If a calendar your strips might be longer and will make larger bows.


1/2" x 4" strips with photobomb deer - mountain living at it's best!

 3.  Take one short strip and curve the ends so one overlaps the other one, making a pointy piece.  If you paper isn't too thick (calendars are usually thicker than mags) you can hot glue the ends together, otherwise you may have to staple.  Try glue first, but if they pop open, staple them.  Make about 18 of these before you assemble the bow.  If your pointy piece is too long and the ends overlap too much, trim them down.


4. Here's where the artistic part kicks in.  Plan your layers out so you have a pleasing arrangement of colors/patterns.  Or wing it and revel in serendipity. 
Next, begin assembly:  Hot glue or staple the pointy pieces, one at a time, close together, around the edges of your circle like so:


Finished first layer
5.  Once you have the first layer attached, start placing the second layer, making these pointy pieces fit between the others.  In the example above you will have 7 pointy pieces on the second layer. I show a stapler here because the glue wouldn't hold this stiff, shiny calendar paper very well. If you have larger gaps between some of them, it won't make much difference once you fill in the other layers; trust me;-)


6.  Once you have all of the open spaces on the 2nd layer done, continue with layer three.  If your circle is pretty full, skip layer 3 and decide how you're going to finish the center*.  Or, if you have room for layer three, continue as before.  
*To finish the center you can make a single loop or try to fit 2-3 pieces in.  It's difficult to glue them in at this point, so you may only get 2 pieces to fit.  If using a loop and it looks too scrawny try cutting a wider strip and using that. Or, get crazy and make curls or shredded pieces that burst out like a firecracker!


finished 2nd layer
starting layer 3


Finished bow with a looped center. 


This is a large Vogue magazine bow with both a third row and a center loop.  Make some! Have fun!


Wednesday, November 2

Lots of New Up Cycled Cashmere

Happy Fall friends!  
I've been busy whipping up delicious new cashmere goodies just in time for.... snow!  
Yes, it will make it's appearance this year, but you'll be prepared with a fluffy new sweater, or perhaps a scarf to cheer yourself up.  (truth be told... I pray to the snow Goddess, but don't blame me if we get buried:-)

Here are a few the offerings so far:
HATS FOR THE WEE ONES


Girls 12 m. to 3T
Girls 12m to 5T


Girls 3T to 8yrs 
INFINITY & LONG SCARVES

Neutral and fabulous

Oranges and Peachy Colors

Reds!


SWEATERS - READY TO WEAR & SPECIAL ORDER


Sweater Salvation:Custom Order - send your damaged sweater for a fancy fix

Chartreuse!  Size Large

Luscious Periwinkle and Turquoise
Thank you for stopping by and I send you lovely snuggled-by-the-fireplace good vibes for the impending season.

Sunday, March 27

Custom Cool - T Skirts & a Poncho


I have had the profound pleasure of making three custom garments for two very cool clients lately and I really want to share the results with you!  

A repeat client sent me a box of the most amazing collection of Star Wars T shirts you can ever imagine.  It took a few days before I was brave enough to cut them up.  

Chopping up Chewie???  Couldn't bear it.  And the Jedi mind trick, "These are not the droids you are looking for"!  Gasp.  
Black Skirt Number 1:

Gah!  Vader!    Asymmetrical draping and hemline is key to the flattering fit.

These skirts are going to Comic-Con!!

The back.
And my favorite, the Blue & Grey combo, Skirt #2:


Again, lots of angles and draping. 

In true eco fashion - the waistband was swiped from a pair of boxers:-)


I do custom skirts in this short 17" mini skirt length and a longer midi length on the Etsy site.  When you have enough skirts, send them a long and we'll collaborate on the perfect eco skirt for you! It usually takes about 14 panels for a mini and about 20 for a midi. (You can alternate solid/graphic as seen in these, or do them with all panels as slices of the graphics). I use the blank backs of shirts for the underskirt and waistbands, thus reducing fabric waste.  


Custom Order Smashing Success #3 - A rockstar Poncho:

This client sent along a stash of awesome concert T's, some of which featured her husband's band.  The "I am Your Tin God" is her own artwork for his band - how cool is that? I studded the appliques as usual and the poncho can be worn asymmetrically off shoulder or with neck line centered. I thought her color choices were brilliant and come on - Amelia Earthart + Johnny Cash - fantastic!


The back when worn symmetrically.

Amelia with studded star appliqué. 

Neckline

Details are EVERYTHING.
Send me your shirts!  
(Your kids' sport shirts, Concert T's, Sports Team T's, Race T's, Travel T's - they make great wearable art - a site more stunning than a memory quilt, eh?!)